Best Practices for Mounting Photos and Artwork Safely
Protecting and displaying your most treasured photos or your most valued artworks must start with one thing: proper mounting. Simply sticking a photo to a wall, or sliding a painting into a frame as is, can damage your valuables, and it does not look as visually pleasing as it should.
The team at Master Framing have been helping Sydney homes and businesses showcase their bright, colourful and most valued works of art for years. We know the right techniques to use so your art looks fantastic and will be preserved for longer. As one of Sydney's trusted art framing services, we've put together this guide to walk you through the best practices for picture mounting, so you can feel confident your pieces are in safe hands.
Is Mounting Your Art the Same as Hanging it on the Wall?
In some places you may be told that mounting your art is the process of hanging it on the wall. This is incorrect. Mounting your art is the process of preparing it to hang on a wall. The better you prepare and mount your art, the better it will look when hanging on the wall.
Let’s break it down to show you the differences.
Mounting Art
You mount art to prevent paper or canvas from wrinkling, warping or creasing over time. You do this to also give it a firm base to rest on.
There are three techniques to mounting:
- Dry mounting with heat-activated adhesive.
- Photo corners.
- Hinging, which uses tape to secure the top edge.
We’ll go into these in further detail later in the article.
There are three types of mounting you can use:
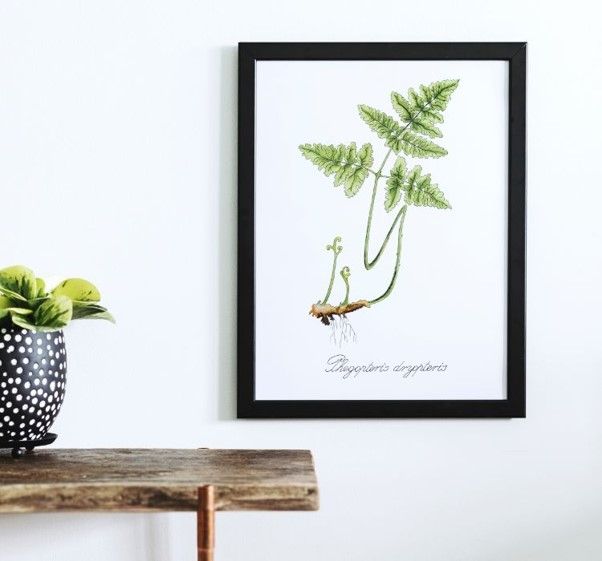
- Window mount. There is a border of card placed around the image to separate it from the glass.
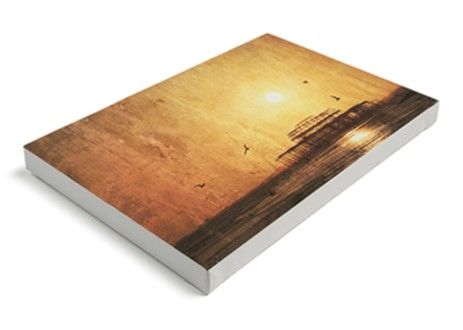
- Dry mount. Your artwork is permanently adhered to a solid board.
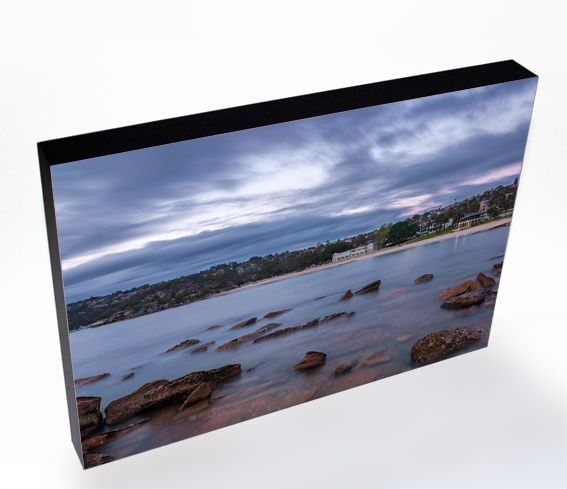
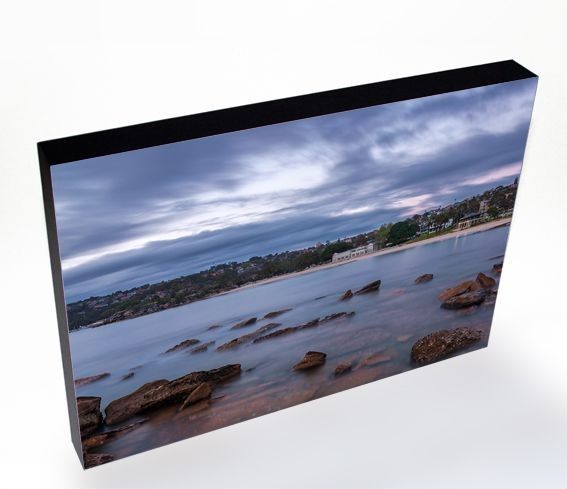
- Float mount. The artwork is secured to the top of a backing board which allows the edges to be seen.
Hanging Art
Hanging is the final step in the process once you’ve mounted your artwork. You do this to display your artwork. You have something beautiful you want to look at, and to show to other people. There are plenty of things to consider when hanging your art, but that is for another article.
You can use picture wire, secured to the back of your artwork, sawtooth hangers, French cleats or even temporary adhesive to secure your art to the wall. Check which is best for your artwork and for your wall before you hang anything.
In short, mounting is what makes a piece of art hard and flat. Hanging is the act of putting it on the wall. You can mount the art and hang it on the wall for a modern, frameless look. Or you can mount the art and then frame it for a more classical look, and then hang it on the wall.
Why Should You Mount Your Photos and Artwork?
As mentioned, a good reason to mount your art is to prevent creasing and warping over time. You want this artwork to remain flat so it is easier to view and admire. It also makes handling the artwork a lot easier.
Let's dive deeper.
- Prevents damage. Mounting your artwork acts as a protective barrier that can separate your art from the glass of the frame. This allows airflow, so the work stays dry and won’t stick to the glass. It prevents the damage of curling or buckling that can happen, especially with larger prints.
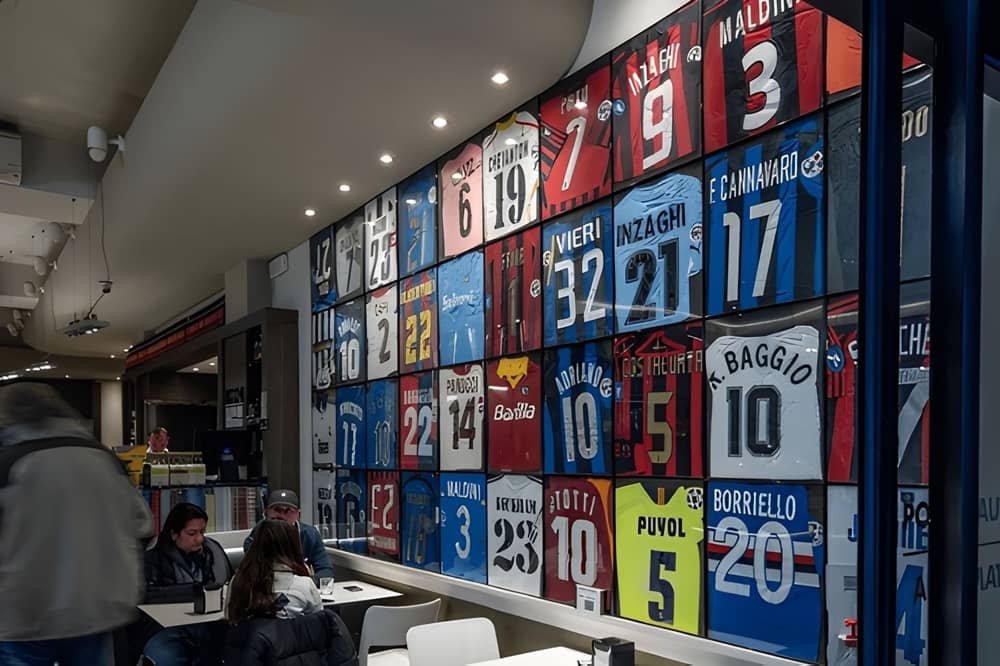
- Enhances aesthetics. Mounting a photo or an art piece makes it look good. It adds a level of professionalism to what you’re displaying. You can add a neutral border to direct a viewer's gaze to the art, and it also adds to the perceived value, and hence dollar value, of your art.
- Easier to frame. Mounting your art gives it a rigidity that makes handling the art so much easier. You can place the art into framers without causing accidental creasing.
- Versatility in sizing. If you have a small piece of art, or an old photograph, with a bigger card mount you can fit these small items into bigger frames without looking awkward.
- Protection. Using acid-free mounting, like Master Framers do, prevents damage from humidity and acidic environments. This ensures the longevity of your work. The methods we use for protecting your artwork are of the same high standards that archivists use.
How to Mount Photos
We will talk separately about mounting artwork next. Mounting a photo involves adhering it to a rigid surface such as a matboard or a foam core. This is done with spray adhesive, photo corners or archival tape.
Mounting photos in detail:
The T-Hinge Method
Using an acid-free linen tape, you attach only the top edge of the photo to the backing of the matboard. This allows the photo to hang freely and expand without rippling.
Spray Adhesive
You apply a light, even coat of spray adhesive to the back of the photo, then carefully place it on the foam board or mount board. You smooth out the wrinkles and bubbles with a lint-free cloth or wax paper.
Photo Corners
You can use self adhesive, acid-free photo corners to hold a picture in place on the mounting board. This means you don’t have to apply adhesive directly to the photo.
Dry Mounting
This is a permanent method that uses heat-activated adhesive to bond the photo to the backing board.
- Ensure there is a clean and dry workspace when you begin to mount your photos.
- Select the materials you will use beforehand so you don’t pause during the process. You don’t want adhesive to dry while you find all your materials.
- Position the photo as centred as possible. Use light pencil marks to help if you need. Or, you can adjust slightly to give weight to a top or bottom board if you like.
- Secure your photo to your mounting board with adhesive tape or other methods mentioned above.
- Assemble your work into the frame with glazing and a backing board.
How to Mount Artwork
Mounting artwork is very similar to mounting a photo, but there are a few differences that you may notice. When handling the artwork, using static-free gloves is important. If you’re hanging a painting, you don’t want chemicals from your hands impacting the look of the painting.
Key details in mounting artwork:
- Prepare your materials. Use archival quality materials, such as linen tape, have a clean workspace and precise measurements when mounting your work for the best results.
- Position your art carefully. Place your art face down onto your clean surface, then position the mat board and backboard as close to the centre as you can. Measure twice, use adhesive once.
- T-hinge. Use archival tape along the top of the art only. This creates a t-hinge which allows the artwork to breathe while being displayed.
- Secure the mount. Attach the backing board to the mat board, again with the t-hinge attachment.
- The finishing touch. Place the mounted artwork into the frame. Secure it and clean the glass. Then hang on the wall.
Mounting your photos and artwork is one of the easiest, and yet most satisfying ways to protect your artwork and display them for others. Choosing the right mounting can make your art look so much better when hanging in your home or business.
Leave it to the professionals at Master Framing in Sydney, your go-to experts for mounting, hanging and preserving that which is precious to you. Give us a call, tell us about your artwork, and let us help you show it off in all of its glory.