Tips for creating the perfect gallery wall
The gallery wall was a thing of the past but is slowly making its way back into style and trending. A gallery wall doesn't necessarily have to be limited to artwork but can also include aesthetically pleasing word art and even memories of your trips or important events. The way in which a gallery wall can be curated remains the same, and sufficient planning is required for the setting up of the same. Let's take a sneak peek into how to set up a gallery wall.
The location
The location is the first step toward arranging the gallery wall. Deciding on the location can give you a simple idea of what the layout will look like, the size of the frames, and the number of frames you are planning to incorporate into the chosen location. The ideal location of a gallery wall is mostly in a space where you can appreciate and even entertain guests to an extent. The usual spaces that are chosen for gallery wall ensembles are the wall near the staircase, the wall above the bedhead, the wall behind the office desk, the accent wall in the living room, or, for that matter, any room, the hallway, and anywhere you want. Choose a wall that does not have direct sunlight falling on it, as sunlight can easily wear out the pictures and frames. Take a look at the number of pictures you want to hang and decide. A few pieces on a large wall will certainly look out of place.
You can also read: A Guide to Styling Oversized Art
Map you composition
The worst thing you can do is scatter artwork across your wall. It would be ideal to have a clear idea of the layout of your artwork or photographs so that you can make the best use of the space. So, before hammering down, have a composition or layout mapped out in your mind. The layout can be arranged after assessing the number of frames you are going to add and the size of the frames or artwork. People pre-decide the outlay in two ways: by placing masking tape directly on the wall or by keeping the arrangement on the floor. The first can be quite messy, and it would be fitting to prefer the latter one. By keeping the layout spread on the floor, it is easier to place them on the wall in sequential order; this is also the orientation of how to make use of the wall, i.e., whether in portrait or landscape. Once the composition is decided, move on to getting the right size artwork or photographs. Make sure to click on the pre-decided layout's picture so that you don't forget.
Curate your Collection
Once the frames and the layout have been decided, the next step is to decide what to put into those frames. Try doing something fun and mixing and matching your pieces so that it doesn't look monotonous. Adding in typography can create a funky look. You can also arrange the pictures in such a way that they tell a story. Do not place similar photographs or artworks together, as it might look boring. Even though contrast can create that different look, sticking to a common colour palette is also a good idea. Bringing in soft tones can help create a serene and calming atmosphere. Creating a mood board can help you decide on the arrangement of designs. If you are into creating a framework for artworks, it would be ideal to go with similar-palette artworks so it eventually gives an inclusive look.
You can also read: Creative Ways to Frame Your Pet Photos
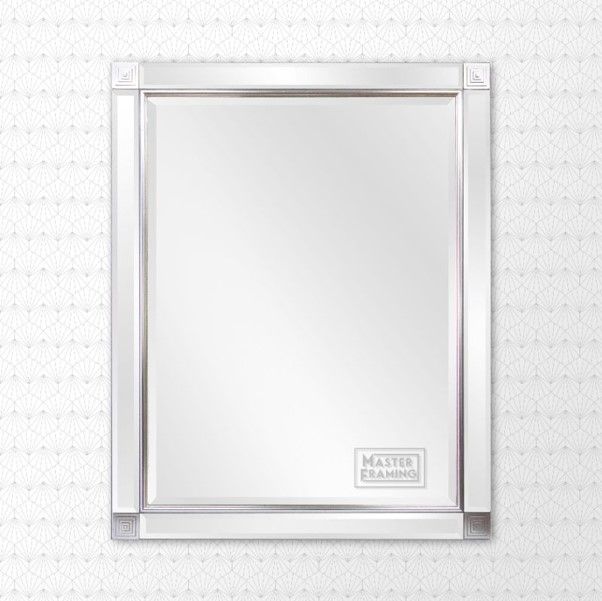
Frames
Once the pictures or artwork are decided, the next step is to pick up the frames. Usually, people go with classic border frames for all their artwork. If you want, you can take a different route by choosing white or textured frames. This will fit exceptionally well into dark-colored walls. Also, give due consideration to the interiors of your home. If the texture or accessories are rustic, go for wooden finished frames. You can also be exclusive and playful with your frames and go a step further by making DIY frames. Different sized frames and even asymmetrical frames are quite a change of style from the classic frames. It can also be innovative to go frameless. Decide after having an understanding of the space you are putting in the frames
Mounting them
Understanding how to mount them on the wall is the next big question. Most of the frames now come with hooks, which are said to not affect the walls much. There are also Velcro frames, which can hold up to 7 kg. You can also use the traditional method of hanging frames by means of nails. There are adhesive wall hangers, which are also a better choice if you don't want to leave holes in the walls. The hooks that come with the frames can cause smearing on the wall, so choose good, branded frames in that case. Photo framing in Sydney can give you good deals with branded frames.
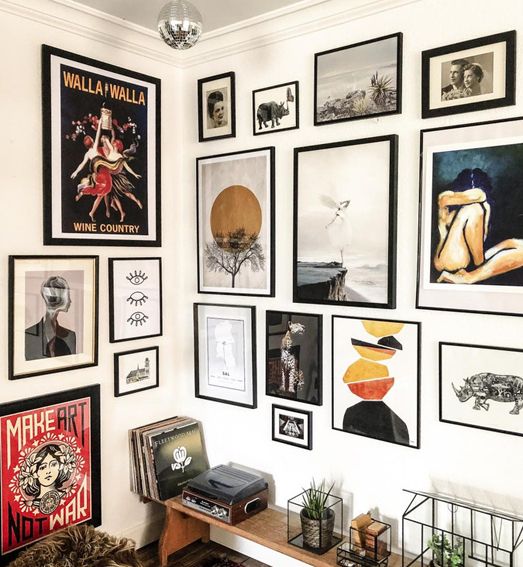
Start Placing
The final step is to mount the frames with the artwork or photographs on the wall. Start with the biggest pieces in the collection. They can act as anchors, and the rest can be arranged around them. Proper distances between frames have to be maintained to avoid a shabby and non-concrete look. Keep larger frames apart with much more space and smaller ones closer together. Start from the centre of the space and eventually move outward.
You can also read: Creating a Frame Wall Display
A gallery wall is the best kind of interior decoration that you can vouch for. It is the best way to add personality to your home or room. Choosing the right frames is a must for getting a great layout at its best.
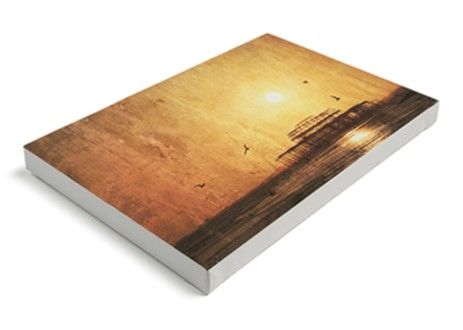
For a very long time, Master Framing has been known to provide exclusive frames of good quality in Sydney. They have premium collections of DIY frames, Canvas framing, certificate framing, and whatnot. For all of your framing requirements, choose Master Framing!